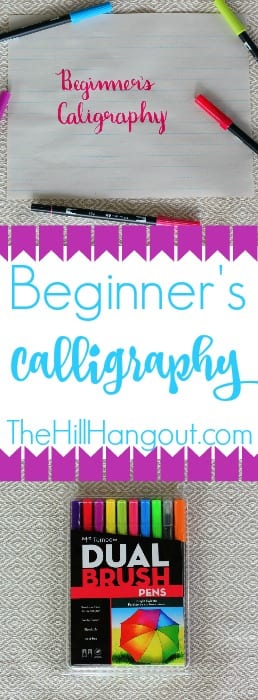
Calligraphy is an art that I have fallen in love with. I always have been interested in writing letters in different sizes, fonts, and styles. Calligraphy was one of the things I loved even before I knew about it. It is an art that we are seeing more often on cards, paintings, and envelopes. Whether you’re looking to teach a calligraphy class or just address your christmas cards, I’m here to help you get started. I’m starting Beginner’s Calligraphy so I thought we could learn together.
STEP 1. GET GOOD SUPPLIES
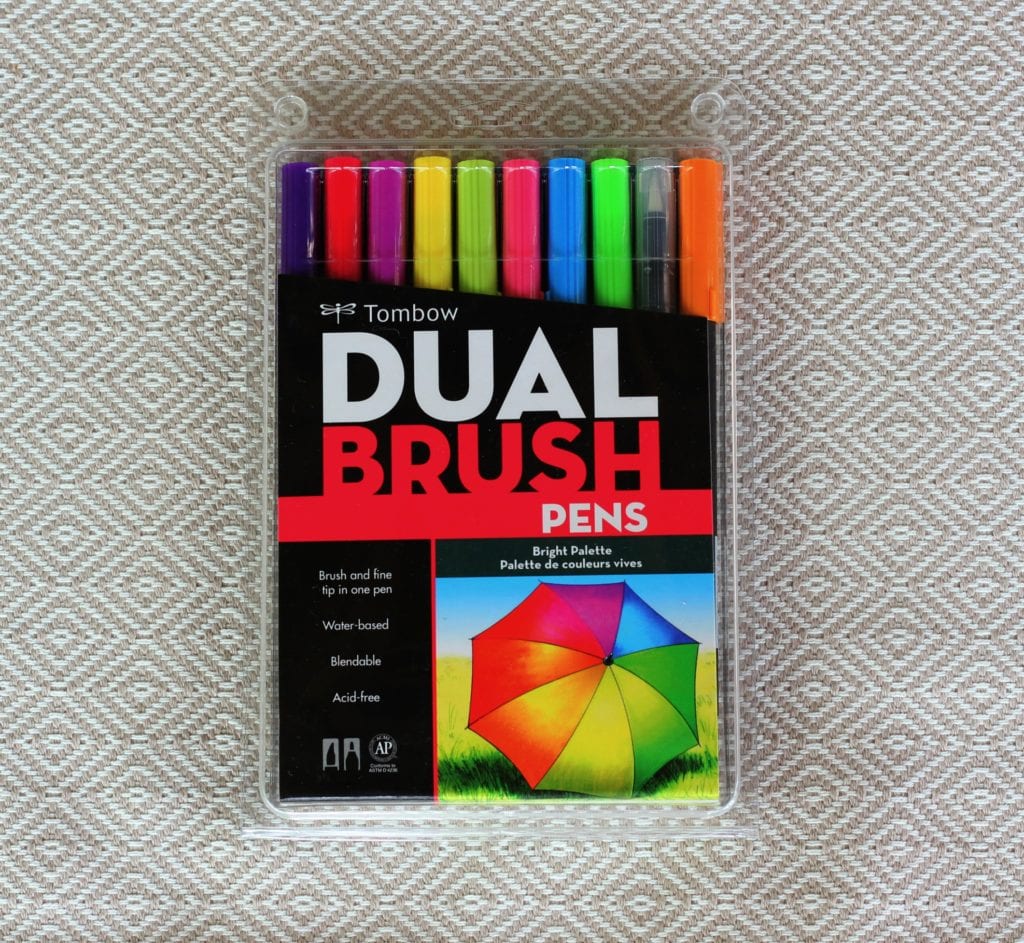
My mom got me these pens off of Amazon for Christmas. They are amazing! You have a lot of control with them (even if it doesn’t seem like it at first) and they come in 10 vibrant colors. They have the brush end that you use for what we’re doing, but they also have a small marker end that is perfect for addressing the street name on an envelope or changing up the fonts on a piece of art. For paper, I just used some scrap paper we had left over from when Patterson was learning to write her letters. It was the perfect size! It’s probably not what you’re supposed to use, but we already owned it so I’m going with it.
STEP 2. START PRACTICING
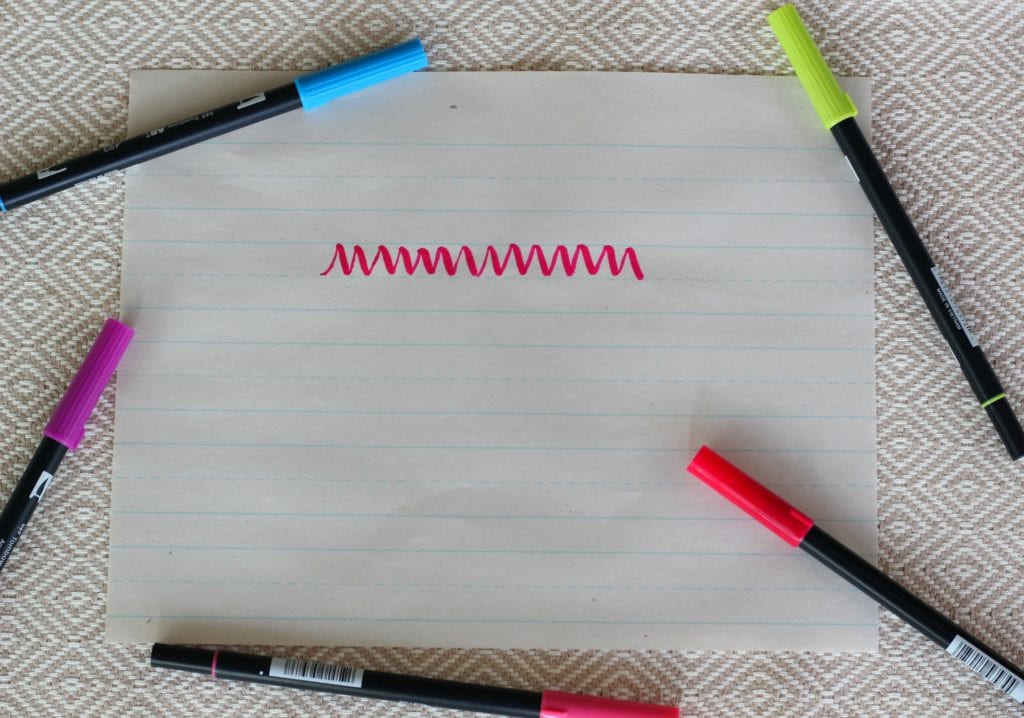
Calligraphy requires a lot of practice. It is hard at first, but I promise it’s not just you. Everyone struggles at times, and this is one of those times. The goal of this step is just to get a feel for how the pens write. When you bring the pen up, it should be a thinner line, and the down stroke should be thicker. Just zig-zag your heart away.
STEP 3. PRACTICE SOME MORE
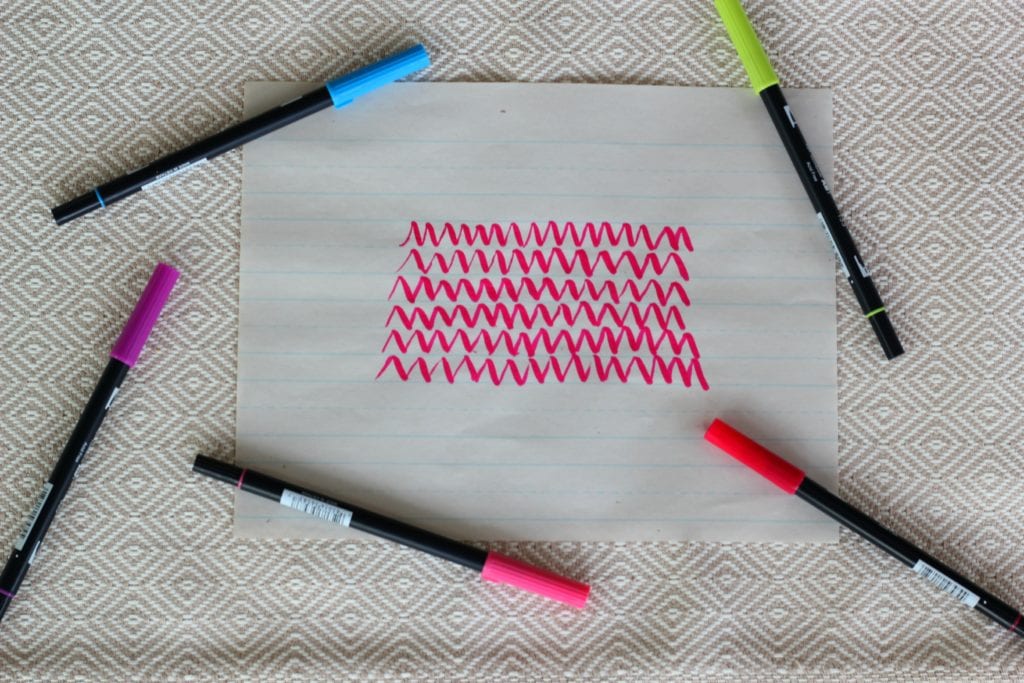
You didn’t think I was going to let you off the hook with one line did you? Nope! Make lines and lines of zig-zags. Fill up pages and pages of them until you’re comfortable with the pen and you like how the lines are looking.
STEP 4. PRACTICE CIRCLES
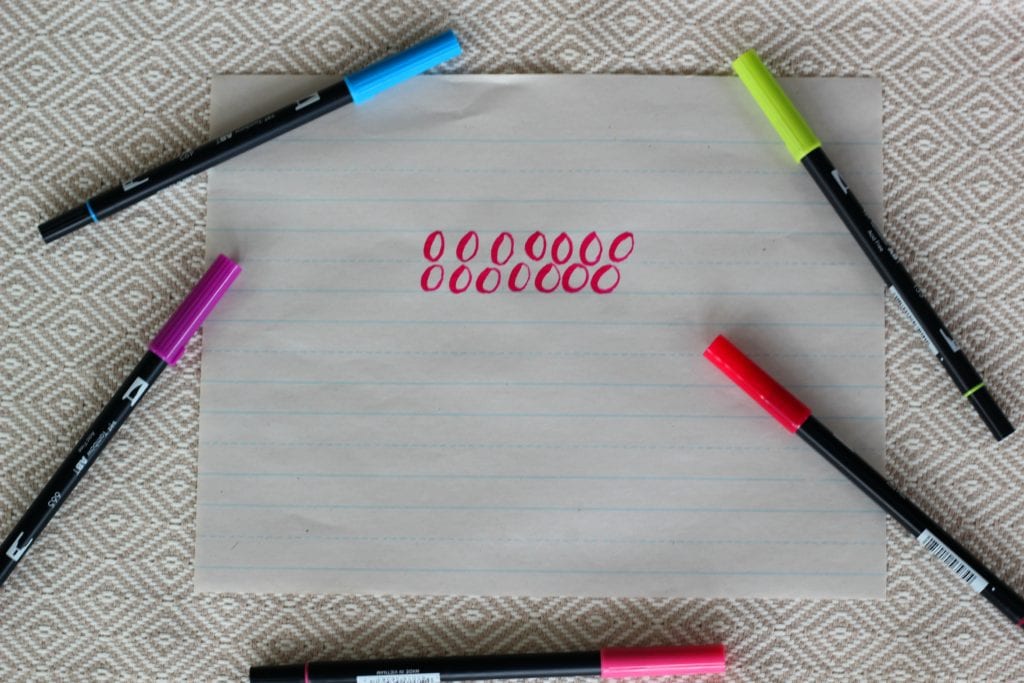
Now that you’re comfortable with lines, we’ll start to do some circles. Many letters have circles in them, so this is a great thing to practice. Make sure to do just like the lines and fill up pages with Os. Get a smooth transition from the thick-to-thin lines before you move on. This is also a great time to practice writing letters over and over again.
STEP 5. START WRITING WORDS
At this point you’re probably getting pretty good with individual letters, but you haven’t started connecting them. The next step is to start writing words. You can do Bible verses, names of friends, random words you think of, anything! The goal of this step is to get comfortable with writing words.
STEP 6. PRACTICE, PRACTICE, PRACTICE
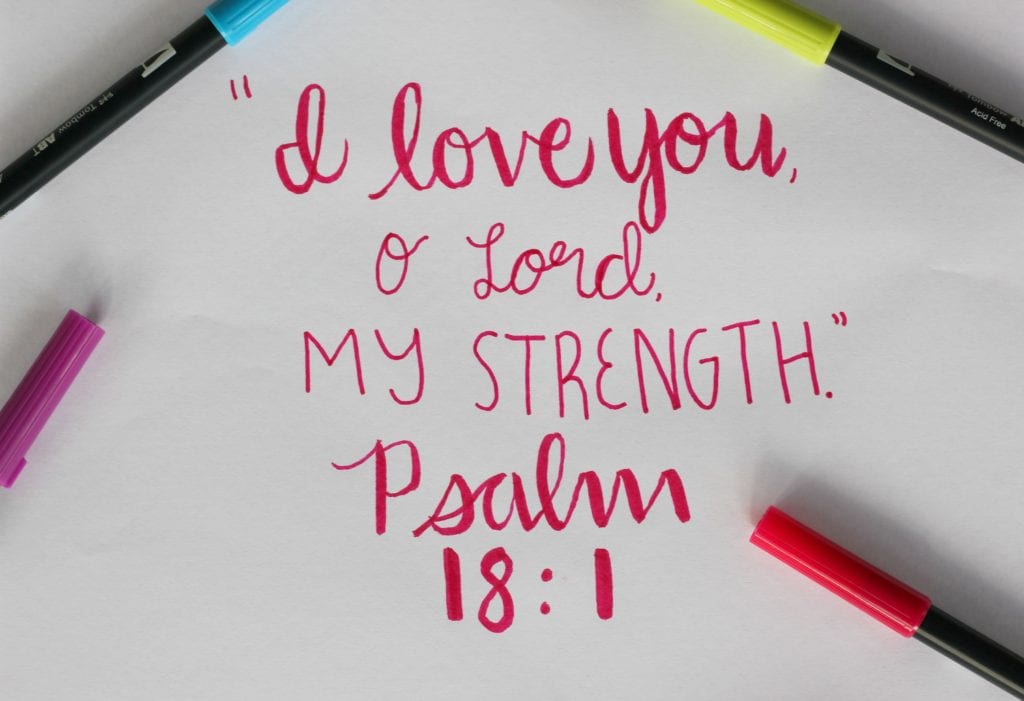
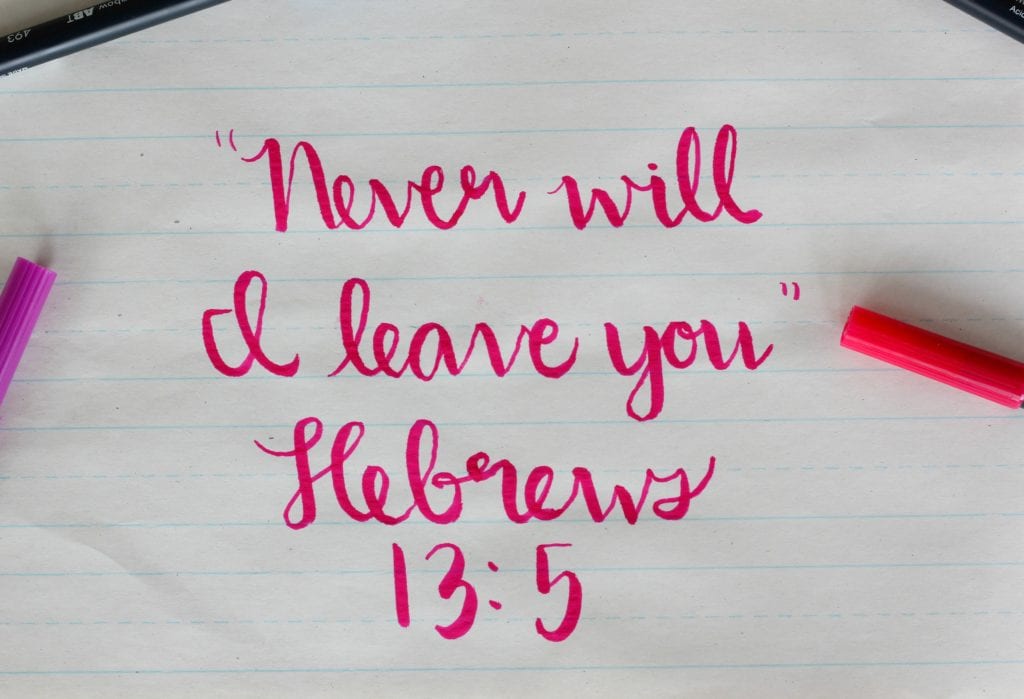
The only way you’re ever going to get any better at this skill is by practicing. You have to write words over and over to get them just the way you want them. In the picture above, I’ve used different fonts to add to the beauty of the verse. Calligraphy is a tedious task, but well worth it in the end.
I hope you’ve enjoyed Beginner’s Calligraphy with me today! I hope you learned something! I by all means am not a pro at this, but I gave ya what I got. If you’d like more tutorials on anything artsy, let me know in the comments and I’ll see what I can do! Thanks for reading today!
XOXO, Mary Anneliese


When I read, I tend to let my thoughts wander, but this article kept me focused. That’s a real feat. You did a good job. the information about calligraphy and fine art is amazing that’s great
calligraphy dubai