Search Results for: art projects

10 MORE Art Projects for Children

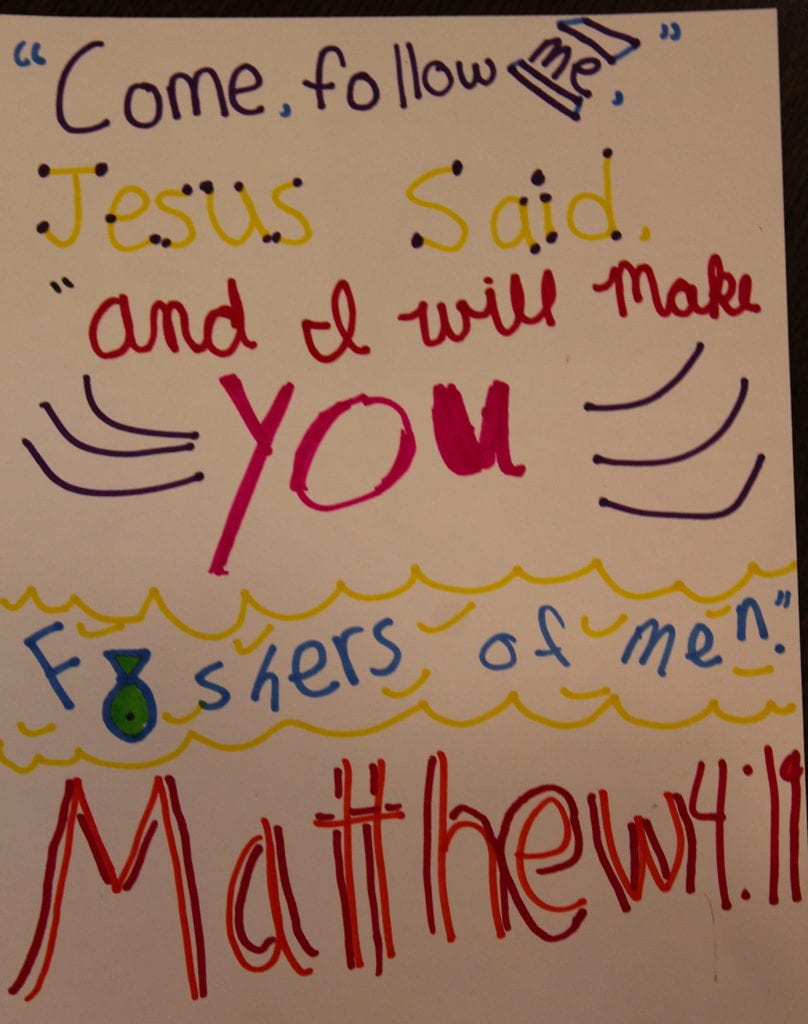
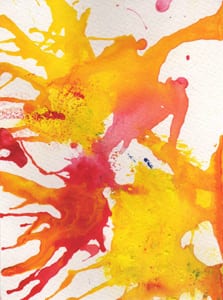
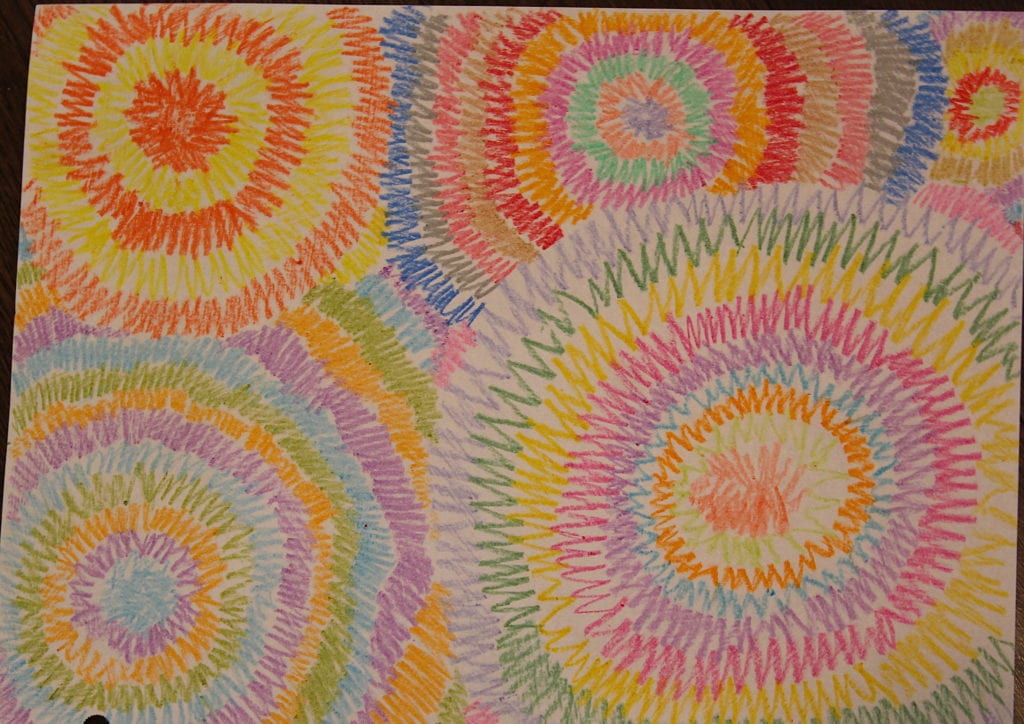
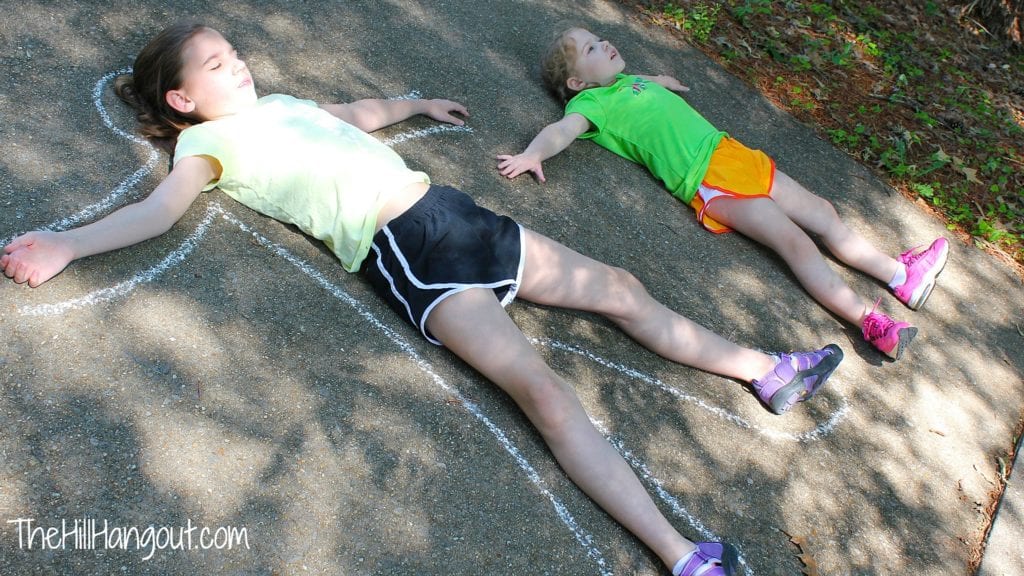
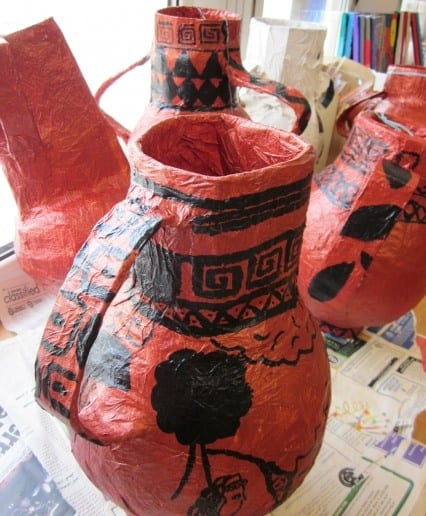
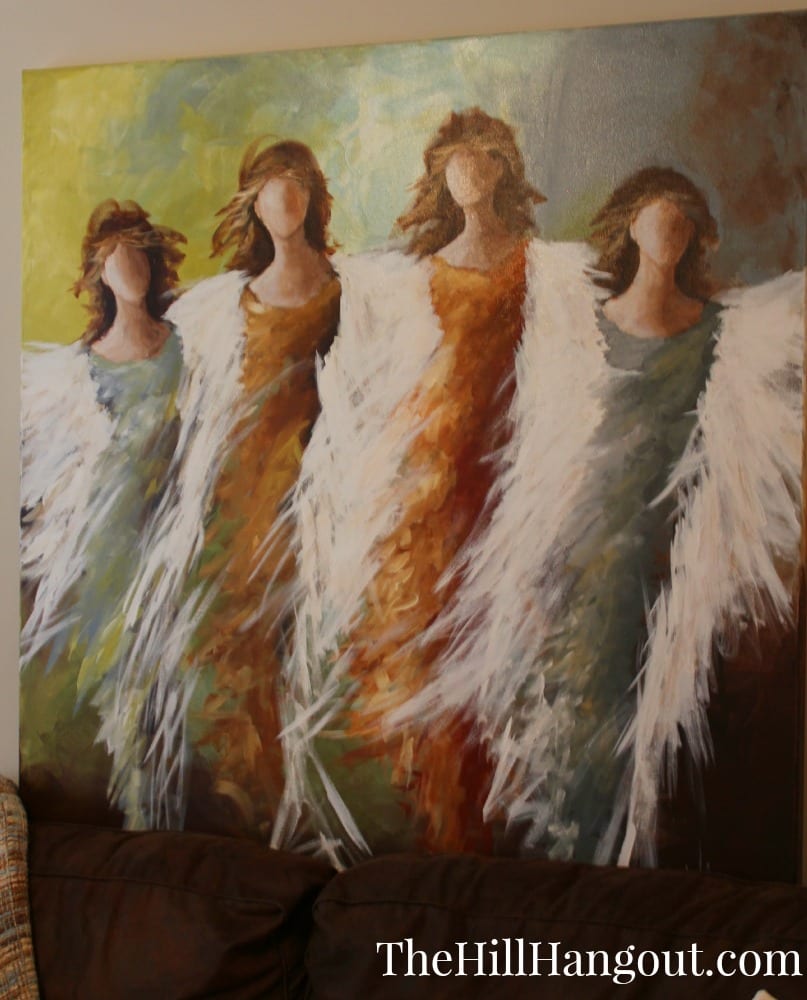
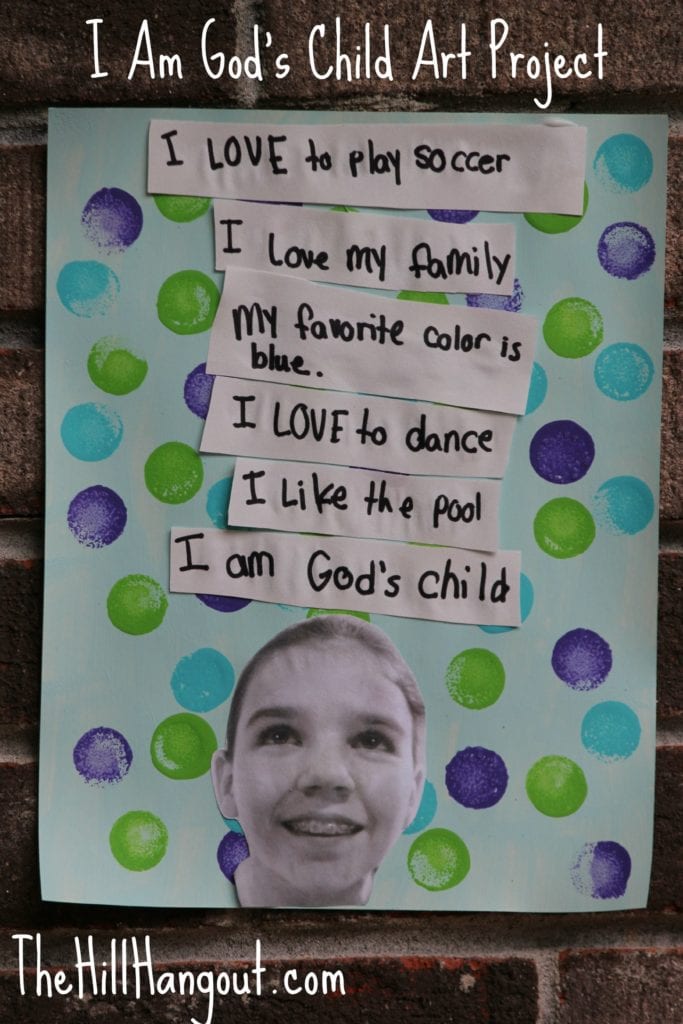
Art is important to our family as an expression of worship. God is a creative God, and since we are made in His image we can use creativity as a way to honor Him. And summer is a terrific time for extended art projects. I encourage you to spend some time this summer creating art with your children that honors our Creator. I’m sharing 10 MORE Summer Art Projects at How to Homeschool My Child today. Join me there…

For more art ideas, check out our 10 Summer Art Ideas for Kids and 10 More Summer Art Projects for Kids.

Children Kids summer art projects

10 MORE Summer Art Projects

ArtGraphic

One of my most popular posts of all time here on The Hill hangout was called “Summer Art Projects.” Who knew that so many parents look online for inspiring art projects for their children? After I participated in a chat yesterday focused on incorporating art and creativity into your homeschool day, I was challenged anew to give my girls more time, space, and resources to create. Littles have such an artistic imagination and they need more freedom to let it run wild! After all, God is the master creator, and we are created in HIS image. He has gifted each of us with the ability to create unique things, if only we will take the time to develop the spark.

So to get your artistic wheels spinning, here are 10 MORE summer art projects you and your kids can enjoy:

73379f39d88f3a24baac56f5512e4925

1. Kathy at Art Projects for Kids introduces us to self-portraits in the style of James Rizzi. My girls had never done a raised image like this before, so it was a new, fun concept. Here is how Pitty Pat’s turned out:

IMG_8290

Obviously, we used different media than Kathy recommended, but it’s what we had on hand and since art is free expression anyway, we went with it 🙂 While we created, we talked about how God made us each with unique qualities, but that we are all made in His image.

2. Gah! Do we love Georgia O’Keefe’s flower paintings, or what?!? Deep Space Sparkle used Georgia’s inspiration to create these flower masterpieces using construction paper, oil pastels, watercolors, and patterned (scrapbook) paper. This would also be fun using painted paper. As you cut and paste, you can discuss Matthew 6 where Jesus tells us not to worry about what we have. God makes the flowers beautifully clothed and gives them the food they need. Won’t He much more care for us, His beautiful creation?

588x386xOKeeffe-Inspired-DGC.jpg.pagespeed.ic.EQkbomDn7w

3. We’ve talked about doodling our memory verses before. I adore a project that kills two birds with one stone, and this one definitely fits the bill. The girls think of it as a fun art project, but what they don’t realize is that at the same time they are committing God’s word to memory. Creativity AND hiding His word in their hearts – my kind of project!

IMG_8291

4. Blow painting is fun and can be executed in a variety of ways. All you need is watered down acrylic or tempra paint in several colors, a few straws, a medicine dropper, and water color paper. Here’s an example from Kabubble:

StrawPaintingW

Simply use the medicine dropper to add a few drops of paint to the paper. Use the straw to blow the paint around in all directions. You can put paper in a cookie sheet to keep the mess to a minimum.

This is also a great project to do with a crowd. We did this one in VBS last summer. The message was that no matter which way life blows you, God is making you into His beautiful masterpiece.

5. The inspiration for drawing fireworks came from Art Projects for Kids. Can you tell she’s one of my favorite online sources for art ideas? Kathy is an art teacher and has developed hundreds of art lessons, many of which she shares at her site. This project was fun because BOTH of my girls could do it well. No frustration that big sister’s piece looked better than little sister’s 🙂

IMG_8289

6. An easy, fun outdoor project is a Chalk Self Portrait (aka Dead Body Outline). All you need for this project is a bucket of chalk and a sidewalk or driveway. The girls lay down on the driveway, and I outlined them in chalk.

Outlines

Then I gave them free reign to decorate themselves any way they’d like. Again, we discussed that God made us all with the qualities He chose for us. We have so many things to love about ourselves and thank Him for, because He created us just the way He wants us.

Chalk Portraits

7. Kandinsky was a Russian abstract artist known for his concentric circle paintings. Our friend Kathy once again gave us great inspiration for using Kandinsky’s ideas to create a piece of our own.

Kandinsky Trees

We were short on time the day we created these, so they could have used a few more “leaves”, but I was happy that both of my girls worked together happily on this project. Big sister cut out the tree trunk, and little sister cut her own circles. This would be a fun project to adapt for a science lesson on how leaves change with the seasons. And since everything we teach should be God-centric, you can build on God as the organizer of time and changer of seasons: “He changes times and seasons; he deposes kings and raises up others. He gives wisdom to the wise and knowledge to the discerning.” (Daniel 2:21)

8. Artsonia is another great online source for art ideas. It is an online museum of children’s artwork. You can spend hours looking through pieces that have been submitted. We loved the paper cutting projects like this horse:

5118054

All you’d need are scissors, paper, and scraps of random materials. What a fun way to use up all your left-over art supplies and show kids that God is knitting together the random parts of our lives into a beautiful creation that He can use.

9. Print-making projects are a little more involved and require a few special items to create, but they can also be a lasting treasure. Fine Lines has done a great tutorial on how to use styrofoam plates to create beautiful prints.

We did these in VBS a couple of years ago, and I was so touched by how much care the kids took with their pieces. We were discussing how time-consuming it is for missionaries to translate the Bible into other languages. We demonstrated by having the kids write a Bible verse onto a piece of styrofoam backward (because words have to be written in mirror-image to print correctly.) It was difficult for them, but they persevered. It taught them how painstaking it is to translate something, and how grateful we are to have easy access to God’s Word. My daughter’s print hangs in my kitchen.

print

10. Summer is a fabulous time for extended art projects like these papier mache Greek Urns from Art Lessons for Kids (different site than Art Projects for Kids).

d347337407cfdfc8a25ced06fe2364ce

We will be studying Greek history in the fall, so we will definitely be making these. They give an in-depth tutorial on supplies and instructions. This will be a fun outside project, as it will be messy and the Alabama summer sun will help the papier mache and the paint to dry faster.

Do you have a favorite website for art ideas? A Pinterest board of great art projects you’ve pinned? Posts on your own blog of great pieces your kiddos have completed? Leave a link in the comments so we can all check them out!

Summer Art Projects

As a homeschooling mama, I am constantly browsing the internet for fun art project ideas that my girls can do at home. Pinterest and art blogs have proven INVALUABLE in giving us the great inspiration, but also the step-by-step instructions. A couple of my go-to sites are Art Projects for Kids and Deep Space Sparkle. These ladies are art teachers, and their ideas are so fabulously creative and colorful and art-educationy.

Summer is the perfect time to get outside, breathe fresh air, and work on art projects, so I’ve compiled a few projects that we’d like to complete over the next couple of weeks.

I’ve had two prints of Gustav Klimt’s work hanging in my bathroom since I was a single girl right out of Auburn University. My girls will definitely be doing this recreation of his Tree of Life on Art Projects for Kids. Love the step-by-step instructions!

This owl project from Make It… A Wonderful Life is a great way to teach that kids can use all kinds of materials to create art – even aluminum foil, glue, and shoe polish.

These pencil drawing of bird cages may not technically qualify as a how-to, but what a great study in line drawings!

My girls favorite medium is watercolor, so this experiment in watercolor texture techniques by deviantART will be great for them. It’s fun to learn new techniques that we can use in other projects.

My children are VERY into begin green and recycling. I think this rainbow collage by Art Projects for Kids could be a nice way to turn trash into art.

My big girl is crazy over scrapbooking papers. She has made cards, notebooks, and various and sundry other patterned paper projects. I thought this item I found on Etsy would be a really cute project for her. And she could choose any Bible verse she wanted.

We’ll be studying Ancient history again in the fall, and I thought this Ancient Greece Mural by Deep Space Sparkle was a brilliant way to teach art and history at one time. I probably wouldn’t use clay tiles, as we don’t have a spot to display/store something that heavy, but we could use any other medium – maybe even more of that scrapbook paper my girl is so cuckoo about – to create something like this. Or perhaps each tile could be a different medium. You could really use a lot of creativity on this one!

For my little sweet potato, this Thanksgiving Turkey on www.reading-with-kids.com is a fun way to teach reading, following instructions, and art at once. There are other holidays available as well. We could use markers, crayons, watercolor, or even oil pastels on this piece.

Both of my girls would enjoy making these really cute butterflies from toilet paper rolls. They could use scrapbooking paper or wrapping paper and foam shape stickers. I think we would add a magnet to the back and make them into refrigerator magnets. This would be a cute gift for my girls to make for their grandmothers.

Since Eric Carle is one of our best-loved children’s’ authors around here, I think this painted paper elephant in his style would be cool to do. I might even try to create other animals and hang them on the awl in our playroom. This idea comes from Deep Space Sparkle.

Want to see more of our art project ideas? Click HERE to see our next series.

Do you have a favorite website for art ideas? A Pinterest board of great art projects you’ve pinned? Posts on your own blog of great pieces your kiddos have completed? Leave a link in the comments so we can all check them out!

Service Projects for the Family

Service Projects for the Family

Teaching our children to serve others is one of our primary responsibilities as parents. God has given us the opportunity and the obligation to show our kids that serving other people is God’s way of living. Jesus modeled this type of servant behavior for us, and our children need to see us following Him in caring for the poor, the widow, the orphan, and evangelizing the lost. Serving together with our children teaches them empathy for others and gratitude for the blessings they’ve been given. Serving regularly with our children shows them that caring for others is our ongoing responsibility, not something to be done only on special occasions. The relationships we build while serving others provide us better opportunities for sharing the gospel. Here are a few ideas to get you started serving others with your family:

  • Contact a local ministry and ask if they need help in their office.
  • Help prepare food at a soup kitchen.
  • Contact a local thrift store and ask to help sort donated items.
  • Call a hospice center and ask if there are errands you can run for their patients.
  • Do yard work for an elderly neighbor.
  • Call someone who has recently had a baby and volunteer to take their other children to the park.
  • Bake cookies and take them to the police or fire station.
  • Collect toys for the cancer ward of your children’s hospital.
  • Hold a crayon and coloring book drive for an under privileged daycare.
  • Collect story books from your neighborhood and take them to a daycare that serves under privileged children.
  • Go on a prayer walk around your neighborhood. Pray for each home and the families who live there.
  • Go for a prayer walk through the halls of the hospital.
  • Hold an art camp or dance camp for under privileged children for a week during the summer.
  • Help out with VBS at a church that serves the poor.
  • Tutor students at your community center.
  • Pick up trash and/or do yard work at a church in a poor area.
  • Bake cookies or bring snacks to a community center that provides after school care for low-income families.
  • Go door-to-door in the neighborhood collecting canned goods for a church’s food ministry.
  • Have a lemonade stand or car wash to raise money for a ministry that provides clean water for third world countries.
  • Write thank you notes to veterans and deliver them to the VA hospital.
  • Contact a low-income nursing home to arrange for a hymn sing-a-long or children’s choir performance.
  • Visit a local shelter to pray with the staff.
  • Knit stocking caps and/or blankets and deliver to a cancer clinic.
  • Offer to babysit for an evening for a single mother.
  • Attend a ballgame of children whose mom or dad is deployed with the military.
  • Offer to drive carpool for a family who is going through a difficult season.
  • Invite a new family in your church over for dinner.
  • Write a note of encouragement to a missionary family from your church.
  • Ask a ministry to give you a specific item you can provide for them. Hold a garage sale to raise the money to buy it.
  • Befriend a widow and take your children to visit regularly.
  • Clean out closets and donate gently used clothing, toys, games, and books to the social services department for foster kids to use.
  • Provide respite care for foster parents.
  • Hold a bake sale to raise money to provide school uniforms for a foster child.
  • Cook and deliver a meal to a widower.
  • Offer to take a single mom’s children for the afternoon. Take photos and have a few good ones printed. Surprise the mom with them.
  • Mow the grass of a neighbor who is out of town.
  • Go door-to-door inviting neighbors to your church’s Christmas program or summer picnic.
  • Visit a low-income daycare to read to the children or do craft time.
  • Attend the ballet recital, choir program, or art show of a child who needs a little extra attention.
  • Hold a free car wash for all the neighbors on your street.
  • Make goodie bags for the homeless. Fill a plastic zipper bag with a bottle of water, a pack of crackers, hand wipes, a travel size deodorant and shampoo, and a pair of socks. Keep them in your car and give to people collecting money at intersections.
  • Collect old towels and money for pet food. Deliver to an animal shelter.
  • Pick up trash and pull weeds at a local park or community center.
  • Offer to run errands for an elderly neighbor or church friend. Make a grocery run, swing by the pharmacy, or give them a ride to church.
  • When bad weather is coming, call an elderly neighbor or single mother to check on them. Offer to let them come to your home before the weather hits your area.
  • Help a senior citizens with simple fix-it projects around the house like changing lightbulbs or cleaning gutters.
  • Plant a vegetable garden. Take some of your produce to a local shelter or soup kitchen, or share with a struggling family.
  • Make hand-made Valentine’s Day, MOther’s Day, Father’s Day, Christmas (or any other holiday) cards and deliver them to an assisted living facility. Arrange to go during meal time so that you can visit with residents.
  • Plan a fun “family night out” for single-parent families. Show a family friendly movie and serve popcorn.
  • Hold a “dog wash” to raise money for a local animal shelter.

Don’t forget to stay in touch with the people you serve, as building relationships with them is what service is all about. As you build relationships, ask people how you can pray for them, and follow through by praying for their needs together with your children. Prayer and service are powerful ways we can reach our neighbors and our world for Jesus Christ.

aTeam Apartment Reveal: Dining Room and Den

It’s time for the final reveal of the aTeam Ministries apartment. We have already shown you the children’s bedroom and the master suite, so today it’s time to take a look at the dining room and den. Generous donors had already given much of the furniture for this space, including a dining room table and chairs, a sofa, a loveseat, and a coffee table. Most of what I did in this space was to accessorize and add a couple of new pieces of furniture. One of the kindest and most beautiful donations aTeam received was this breathtaking angel painting.

ateam apartment

It is HUGE – probably 5 ft x 5 ft. It is fabulous in the living space, and such a constant reminder that God’s presence is with us and He sends His angels to minister to us. This piece became the anchor around which we chose the rest of the furnishings. We used the existing brown sofa and loveseat, but threw in new throw pillows and blankets to give the room a splash of color.

ateam apartment

We still needed a little something to anchor the room, and so the generous folks at Mohawk Flooring donated yet another rug – this one a large rug to fit the space. The colors and pattern could not have been more perfect. We wanted to create a warm, inviting, comfortable space, and this rug helped pull that look together!

ateam apartment

A few weeks before we started this project, the ladies at More Than A Mission Trip asked for suggestions on what kinds of projects they could help support. I spoke up immediately on behalf of aTeam, and they were kind enough to choose us as one of their charities. They sent us the money to buy this beautiful red desk. Families who stay at the apartment now have a place to do school work, work on the computer, pay bills, write notes, or whatever else they need to do. Thank you More Than A Mission Trip!!

ateam ministries

As we move into the dining area, there are many more generous donations. Someone gave the table and chairs that we used.

ateam apartment

FLOR Carpet Tiles sent us a box of carpet tiles to make a rug. I’ve never used these before, but was so surprised at how simple they were to put together. My little bit helped me lay out the pattern I wanted, and then we taped them on the under side using the heavy duty stickers that come in the set.

aTeam apartment

Once we had them all taped together, we flipped it over and put it in place under the table.

ateam apartment

It took us about 10 minutes to put it together, and we even have leftover squares to use as spares.

Y’all, I could never have imagined a project like this coming together without so many generous sponsors. I was privileged to have the opportunity to serve aTeam in this way. If you’re looking for an easy way to support aTeam further, check out their online store where you can purchase awesome t-shirts. You can also become a volunteer, be a prayer partner, or make a financial donation. God bless you as you support them and God bless aTeam as they continue to support pediatric cancer families.

Spring is Here – Let the Projects Begin!

Happy first day of spring! I don’t know about you, but I am so happy to see winter come to an end. Don’t get me wrong, winter has it’s place. It’s absolutely necessary for the earth and for our souls to go through a season of cold, wet, darkness for the old to die away and make room for the new growth of spring. But by the time that season of lifelessness is over, I’m jumping out of my skin to see the “new thing” God is doing.

I have a million and one projects to do around the house, and right now they are all swirling around in my head. I’m standing at the brink of being overwhelmed by how much I’d like to get done. It’s at these times that I know I need to pull out a notebook and get it all in a list. Somehow getting the ideas out of my head and onto paper make them seem less urgent and more manageable. I can rest easy that I’ve given them a place of permanence before they fly away and I’m left scratching my head wondering where my inspiration went.

First on my list will be to neaten up my painting space and get a few pieces of furniture ready to sell. My workshop area was left in an unfinished state when freezing temp hit, making it unbearable to use. I have several pieces that are half finished. I want to move them on to completion so I can make room for new pieces.

Also on my list is to finish power washing the driveway. We started that project last year, and somehow in the middle we lost steam. I love the look of a fresh, clean driveway and sidewalk. It makes the entire look neater and more trim.

I’ve been planning to paint my master bedroom and our den for months, maybe years. Somehow we haven’t found the time or energy to begin, but I am redoubling my effort to knock out this project. Once we get started, I know we won’t want to stop until we’re finished. I’m sure it will look so much better we’ll wonder why we couldn’t get motivated to do it sooner. I’m trusting in that, anyway.

As I look around my house I see that some of my accessories need freshening up. A few are becoming dated, so I’m scouring Pinterest to see how I can update a few areas without spending a ton of money.

What about you? Does spring bring about the urge to work on projects around your home? What kinds of things do you look forward to completing?

I Am God’s Child Art Project

Gods Child Art Project

We’ve been working on a lot of art projects around here the last few days. We love to use art as an expression of worship and as an act of creativity. God is a creative God, and we are made in His image. We should be creative, too, and use our creativity to honor Him.

This project is super easy and can be adapted for use with almost any age. All you need is a background page, a photo, and strips cut from paper with characteristics of the child.

I took the photo with my phone and changed it to black and white using PicMonkey.com. Then I put it in a Microsoft Word document to adjust the size. We then cut it out with scissors.

The background paper can be almost anything you want. We painted the paper blue and then added the polka dots with a circular sponge. You can paint any design you want, as this is an expression of the child’s creativity.

My daughter made up her own phrases about herself. Smaller children might need help with this one. The most important concept here is for the child to grasp that each of these characteristics are unique traits or talents that God has given them to accomplish His purposes through them. And we end it with “I am God’s Child” because that is the foundation that we are building on. No matter how He has created us, we are all His children when we believe on the saving power of Jesus.

Magic City Art Connection 2011

Last weekend, after two days of doing relief work for tornado recovery, I was wiped out. I needed a break from the heaviness of the last few days. Jonathan suggested that we take the girls downtown to Linn Park to see the Magic City Art Connection art show. Jonathan’s sister, Cecily, who is an artist, had a booth. We decided it was a perfect idea! We loaded up the littles and headed down to Linn Park.
The MCAC is a fantastic art show. The had hundreds of booth with ALL KINDS of artwork. They had paintings and glassware and wood carvings and photography and jewelry – so many really cool styles of art.
They had art projects submitted by high school art departments…

Is anything more southern than the Piggly Wiggly logo? I thought these were hysterical!

Isn’t this such a cool way to display jewelry? This booth had three of these funky mannequins, and they all had fabulous jewelry hanging from them!

There were so many pieces with brilliant color. Loved this glass piece!

And of course, they had musicians doing their thing for entertainment.

Of course, my girls were so happy to run into their aunt Cecily. Cecily said she’d had a great weekend and sold lots of paintings! She wrote about her experience on her blog.
Her booth looked fantastic when we saw it late on Saturday afternoon, so I’m sure it REALLY looked good before she sold so much!

She sold this one about five minutes after I took this picture. A sweet college girl bought it for her bother who was graduating from college and going on to medical school. Nice gift from little sister!

We had a great time at the MCAC. Wish we’d gotten there early enough to see every booth.


Adventures in the ATL: Jimmy Carter Presidential Library and Carter Center

Perhaps the most surprisingly interesting destination of our Atlanta visit was to the Jimmy Carter Presidential Library and the Carter Center, the headquarters for Carter’s humanitarian work. Never having visited a presidential library before, I guess I expected it to be boring rooms of documents. As President Carter and I do not see eye to eye on many issues, I expected to go out of a sense of duty, showing him the respect due a former president, but disagreeing with most of what I saw. I felt it was important to expose my daughter to the office of the presidency in this way, but had a long conversation in the parking lot before going in about how Daddy and I view many things differently than President Carter. As it turns out, we learned more about history, geography, and humanitarian aid than we were prepared for. I was surprised, in particular, at how much we DO agree on. We definitely don’t agree on everything, but I found we do have a lot of common ground. Isn’t that true for most situations in life? When we have preconceived notions and a closed mind, we shut ourselves off from others, with whom we might be missing out on some great opportunities!
The grounds are gorgeous. Not overly done, and the entire complex is not palatial, but they are very well manicured and landscaped. It’s a very simple type of beauty.
Of course, there is an obligatory replica of the Oval Office, decorated as it was when Jimmy Carter was president.
This granite (or is it marble?) marker stands in the foyer. The inscription reads, “I want the Carter Presidential Center to be a great resource for the people of Georgia, the nation, and the world as an expression of my gratitude for having been able to serve.”
We did, in fact, find all of those boring documents! 🙂 They are housed in these climate-controlled storage spaces, which are three stories tall. That’s a lot of paper, folks!

The personal effects were my favorite things to see. The museum houses some really sweet items like the Carter family high chair, handmade baby daygowns, report cards, and family Bibles. There are items of clothing that were worn for momentous occasions: wedding outfits and attire worn to his inauguration.
My favorite of all the things on display were the personal stories of people who helped shape Jimmy Carter’s life. Rachel Clark was a worker on the Carter farm and family friend who taught Jimmy Carter about morals, hard work, and treating people fairly.
Of course, there were exhibits about Carter’s time in the presidency. There were interactive displays that taught about each major event of his presidency.
And this super cool interactive exhibit about the humanitarian efforts of the Carter Center. It taught about all of the areas around the globe where the Carter Center is actively working on projects to eradicate poverty, disease, and hunger, and working to ensure democracy and fairness in government elections.

Again, Jimmy Carter and I have a lot that we disagree on. While I applaud his efforts on behalf of oppressed people world-wide, one key difference we have is our level of comfort with government involvement. He’d like to see governments eradicate these issues, while I would like to see the Body of Christ be responsible for them. While I have no doubt that his faith has lead him to do much of the work he does, I wish he would be more overt that he does it in the name of Christ, as opposed to being a representative of a government. However, HOWEVER, I cannot discount and have utmost respect for the fact that he GETS IT DONE. I could complain all day about Jimmy Carter’s (or anyone else’s) motives and ideas, and I could let it paralyze me into doing NOTHING for the poor, widows and orphans. I will choose, instead, to spend my time and energy and thoughts on how I can serve those who are in need.  

School Projects: Cooking Sappawn

When I was growing up, I HATED studying history. I deplored the memorization of facts that I cared nothing about. I DETESTED going over and over dates that had to be memorized. I really never had a good grasp of many of the events in history that have shaped our current world.
But when I started homeschooling my child, I knew that we needed to dive deep into history. I knew she could learn far more than what she was being taught in school, and I refused to allow her to remain at a level below what she was capable of. I have mentioned before that we use Susan Wise Bauer’s Story of the World books for history. We adore this series. It has been a blessing to all of us. It as given me the review I desperately needed in order to adequately teach history, and it has presented a very complex history in a very simple way. Isn’t that what good teaching is all about?
One of the aspects I love about this curriculum is that Bauer encourages supplemental reading and hands-on projects to help the information gel in the student’s memory. She gives so many excellent resources for accompanying literature as well as giving ideas for projects.
This year we are studying the world from the time of the Protestant Reformation. We have moved on through the historical timeline and are now at the colonization of North America. The reading is fascinating, but we have enjoyed the hands-on projects even more. I found a fantastic book at the library called Hands-On History: Projects About Colonial Life, which has some terrific ideas.
My children are always up for a cooking project. The apple doesn’t fall far from the tree, does it? This was a fun project about cooking meals that the colonists would have eaten. Sappawn is a porridge dish made from milk, corn meal, and salt.

You mix 4 cups of milk with 1/4 cup of cornmeal and 1 teaspoon of salt. You stir it together and cook it over low eat for a LOOOOOONG time. The directions say that it will take roughly twelve minutes, but it actually took more like an hour. However, it only adds to the accuracy of the projects because it would have taken all morning to cook sappawn over a fire in a kettle.

Big Sister was willing to try it, and even liked the taste of it. The recipe says that you can add raisins, maple syrup, or sugar, but we preferred ours plain. Little Sister would not even try it. Stinkbug!

Do you have cooking projects that you like to do with your children?