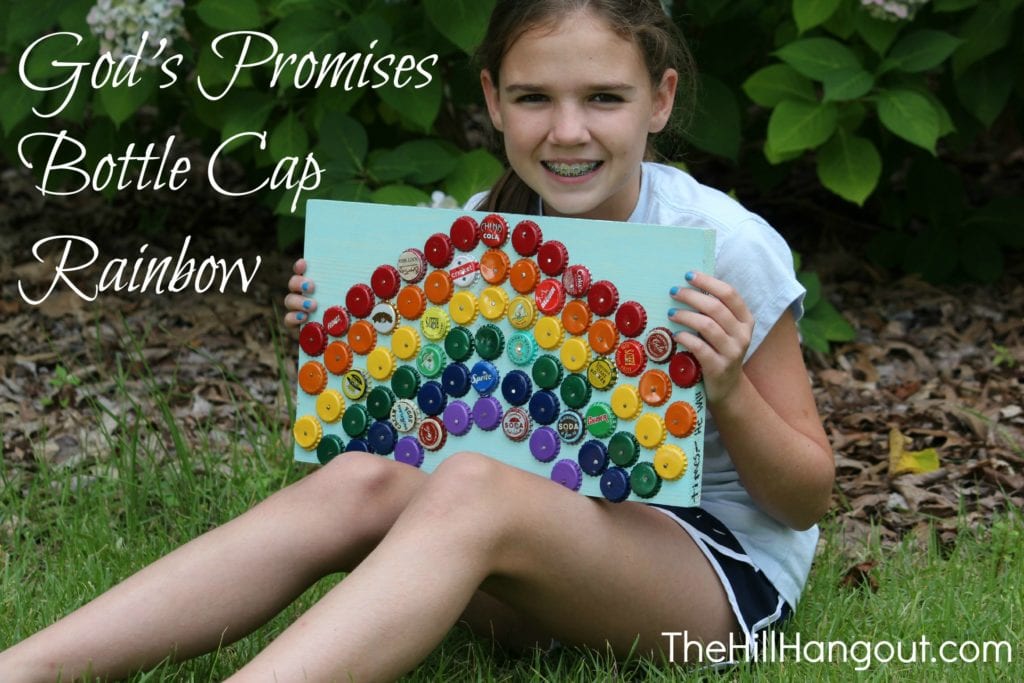
One of my big girl’s favorite summer activities is a camp called “Created for a Purpose.” It is a fabulous day camp hosted just for girls by a local church. They spend a week celebrating all the many good plans God has for them. They talk about how God created girls with talents and characteristics and interests that are uniquely their own because He needs them to fulfill His purpose in their own way. Each day they work on a project that is very “girly” and fun.
This rainbow project is one that I will hang on the wall in the girls’ bathroom because, not only is it cute, but it has truths I want them to see everyday. The rainbow is a sign between God and His people. When God makes a covenant or promise to us, His promises are YES and AMEN. (For all of God’s promises have been fulfilled in Christ with a resounding “Yes!” And through Christ, our “Amen” ascends to God for his glory. 2 Corinthians 1:20.) And we know when He promises us something, He will not go back on it. (God isn’t a man that he would lie, or a human being that he would change his mind. Has he ever spoken and not done it, or promised and not fulfilled it? Numbers 23:19) I want them to know that truth in their spirits so that when the devil speaks lies to them, they will hold fast to the Word of God stored within them and be able to discern His voice.
So on to our project. First you need to gather your materials. You will need a board cut to the size you want, acrylic paint, bottle caps (they used some vintage and some spray painted in rainbow colors), small nails, a Sharpie marker, and about 2 feet of ribbon with which to hang it.
Step 1: Paint the board. We wanted the grain of the wood to show through, so we watered down the paint. However, you can paint it any way you like. Allow to dry fully before moving on to next step.
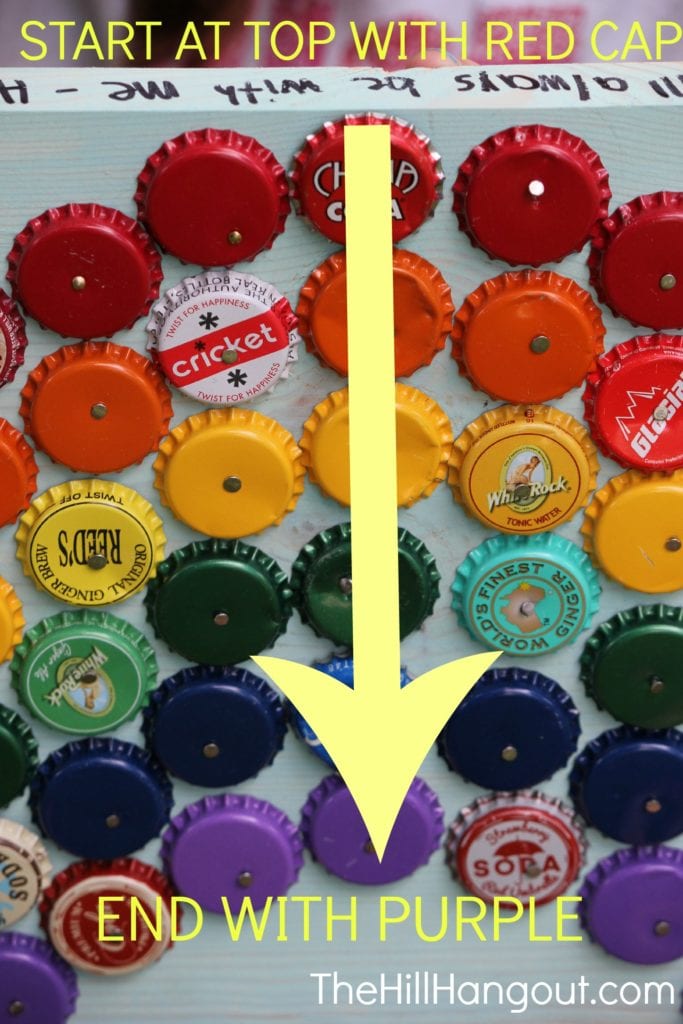
Step 2: Nail bottle caps to form the “spine” of your rainbow. Be sure to use proper order of colors. You know the ROYGBIV mnemonic, right? Well, we didn’t use indigo, but you get the idea. Simply nail in one bottle cap of each color to form a vertical line down the middle of your painting. Start with the red bottlecap at the top and end with the purple (or violet) bottlecap at the bottom. You want tome space between the purple bottle cap and the bottom of the board so that you have room for your rainbow to arch.

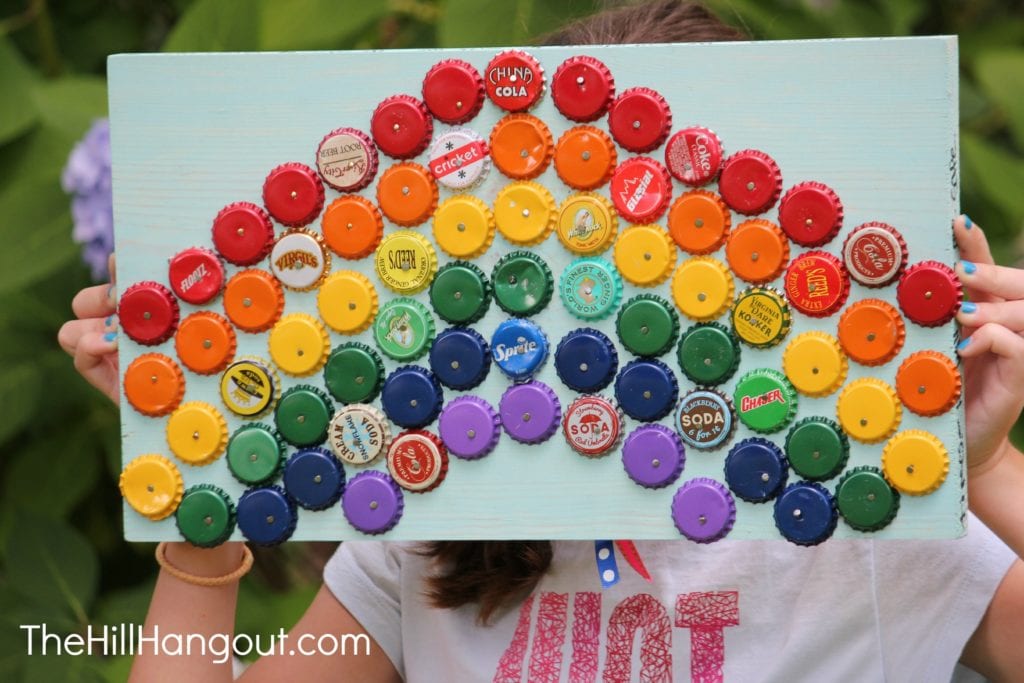
Step 3: Fill in the rest of the rainbow beginning with bottom row and moving up. After the spine is in place, finish out the purple row. Then move on to the blue row. Going in this order will keep you from having a cattywompus rainbow. (Sorry, I slipped into southernese.) When finished you should have something that resembles this…
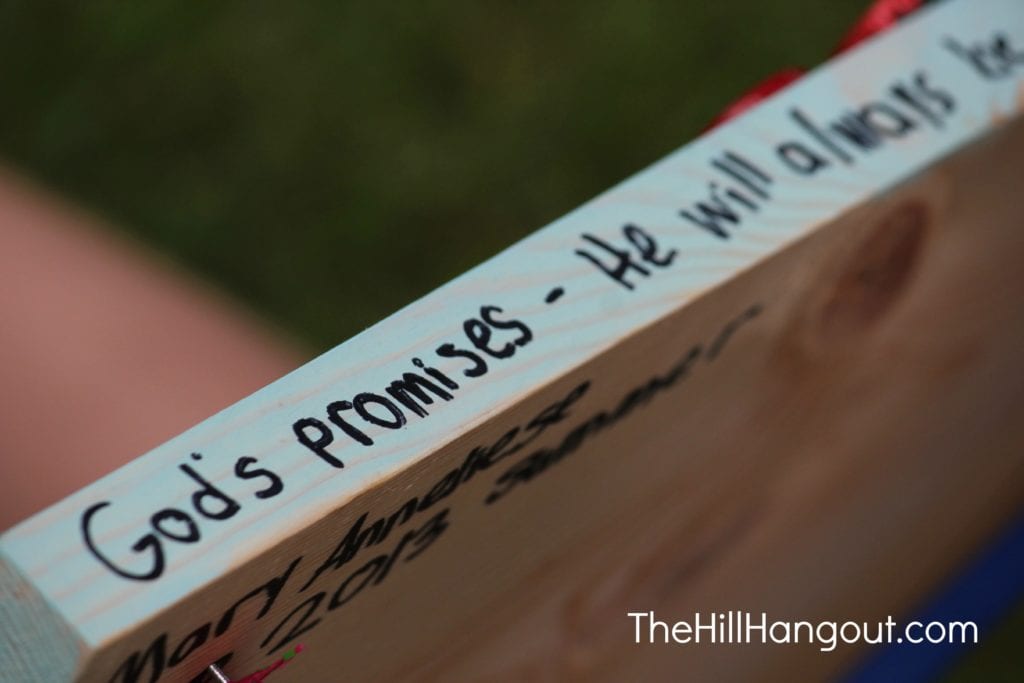
Step 4: Using the Sharpie, add the wording around the edges. You can use whatever promises from God’s Word that you want your child to remember. Ours says, “God’s promises: He always loves me – He will always be with me – He will give me the things I need – He forgives me – He will guide me through tough times – He will keep me safe.”
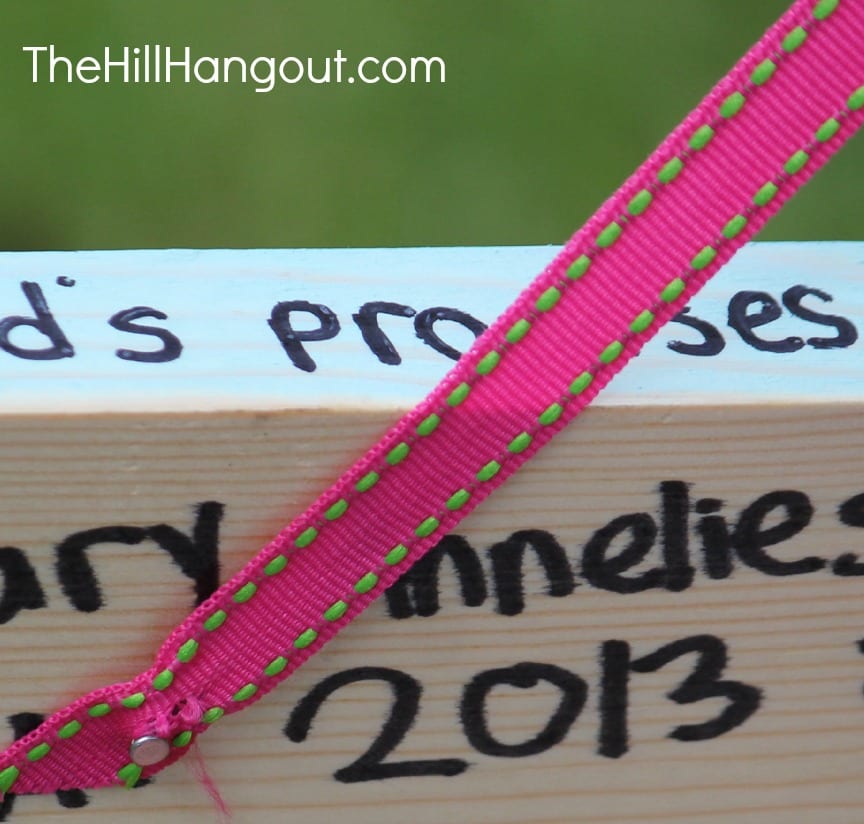
Step 5: Add ribbon to hang. Using two more of the nails, tack each end of the ribbon onto the back of the piece to hang. You will want to add ribbon close to the top so that the piece doesn’t kick out from the wall when hung.
I pray that as your children work on this piece they will be reminded of God’s faithfulness toward His children. He is able and will keep His promises!

[…] My daughter attended a terrific art day camp this summer, and this project was one of her favorites. It uses bottle caps to make a rainbow, all while teaching children about God’s promises. You’ll need a piece of wood, paint, bottle caps (can be purchased from the craft store), nails, and ribbon. Detailed instructions are found here. […]